Personal Website Tutorial
Free Website Tutorial for Beginners
This tutorial shows how you can make a website and host it for free. You will still need to pay for a domain name but we will get to that at the end.
Setup
- Create an Amazon Web Services account
- Create a namecheap account
- Create a GitHub account
- Optional Install Git
- Optional Install Visual Studio Code or any other text editor
Step 1: Fork repository
Go to the GitHub repository for kaet.xyz and fork it.
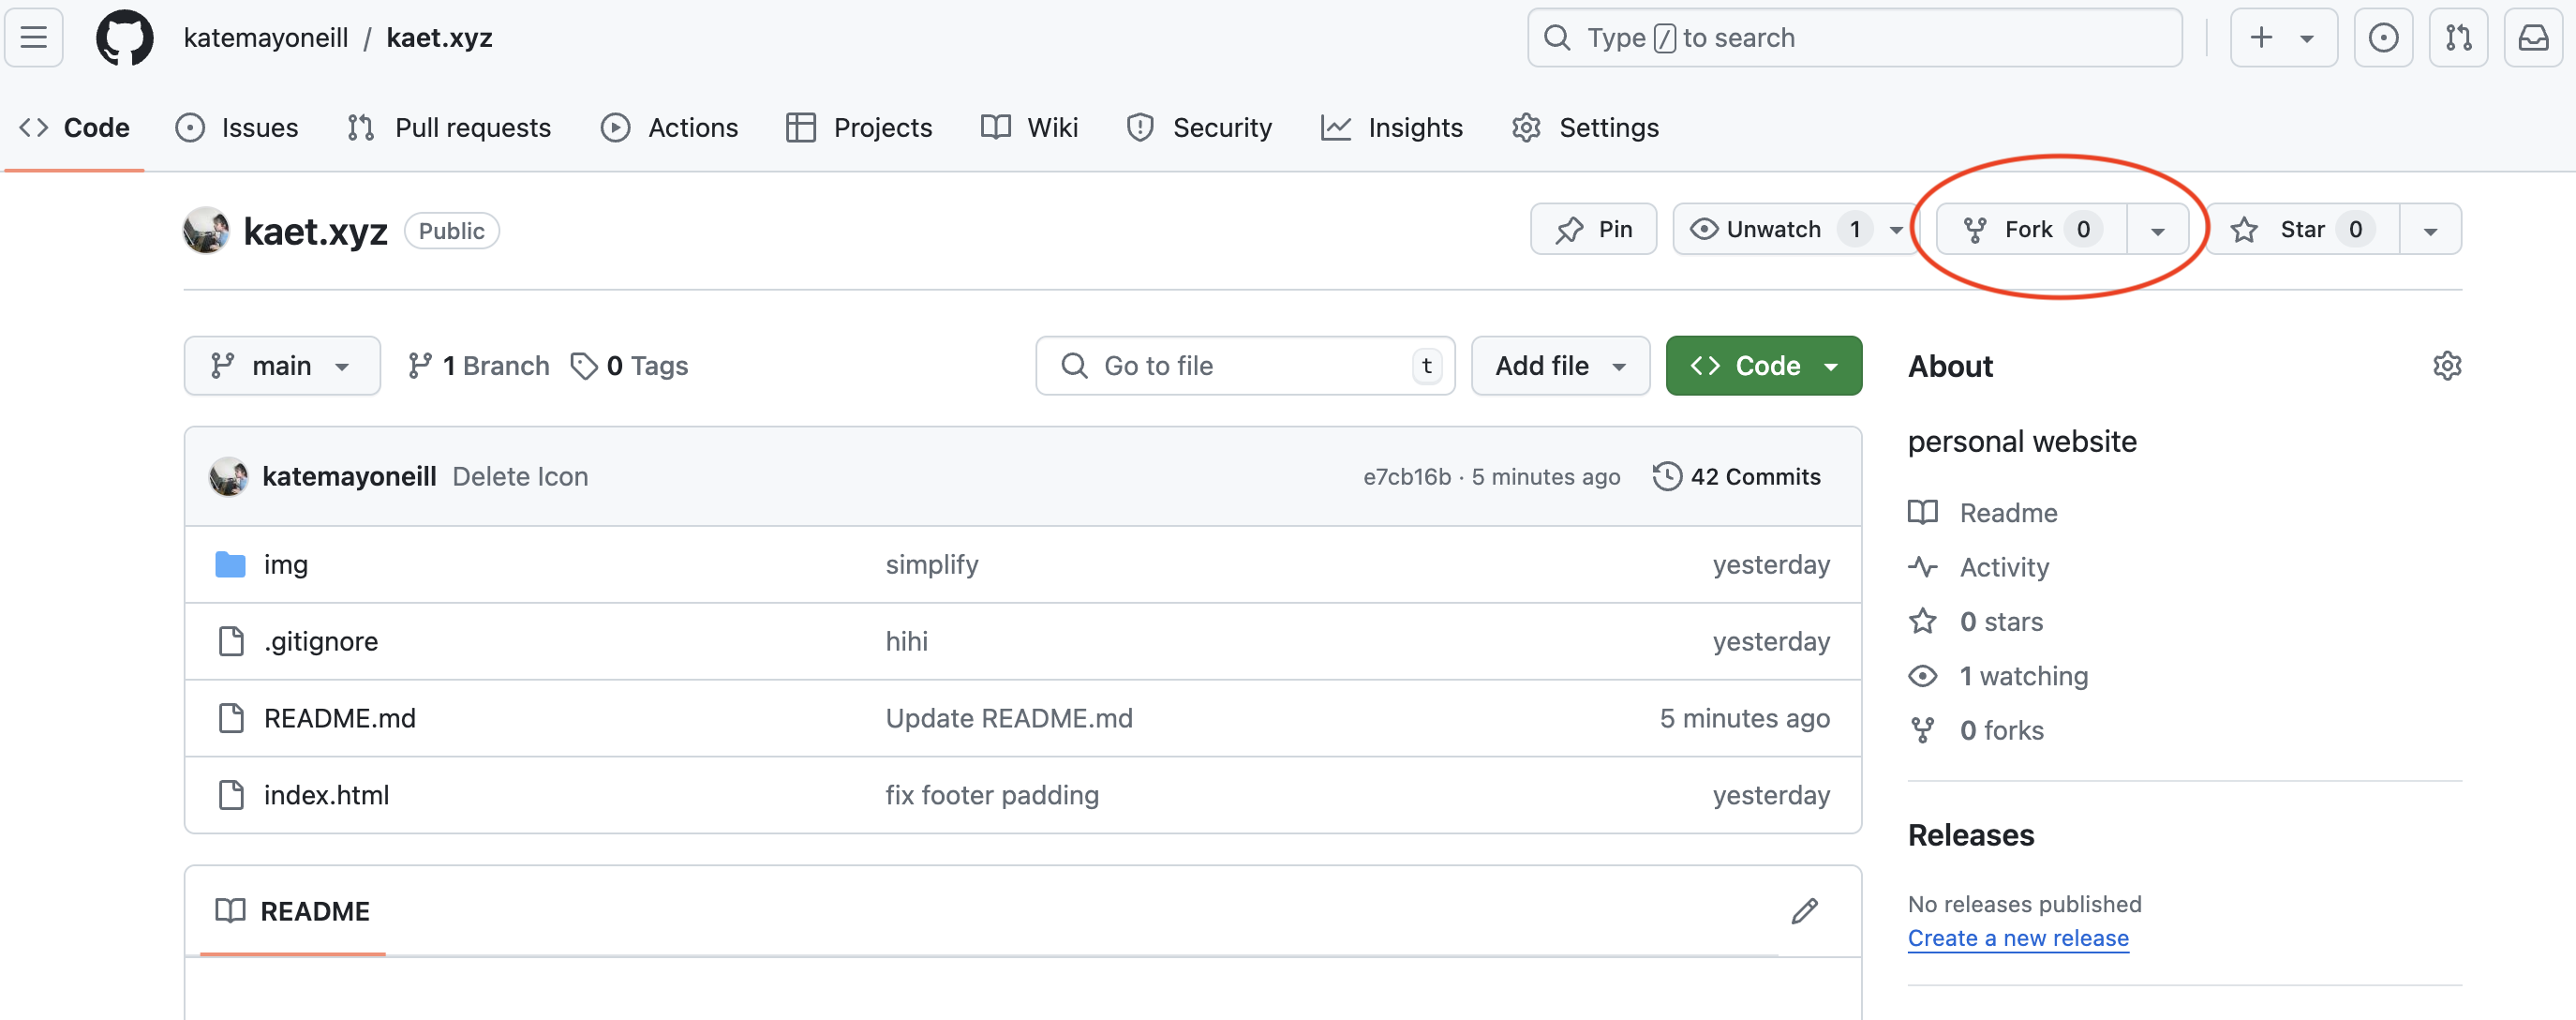
Set the owner as yourself, and the repository name to whatever you want.
Step 2: Make it about you
Now you can start changing things to suit your needs. The code I provided is extremely minimalist, so you shouldn’t even really need ChatGPT to figure out what most of it does.
To keep things as simple as possible, you can edit the code directly on the github website.
The other option is to install git, clone your repository, and then edit the code in a text editor. This method will allow you to test your code before deploying it, so I would highly recommend spending the extra time to do it.
Step 3: Get it hosted
AWS Amplify is a service provided by Amazon that allows you to host websites for free. Click on the “Create an App” button on the Amplify homepage and you will be brought to the console.


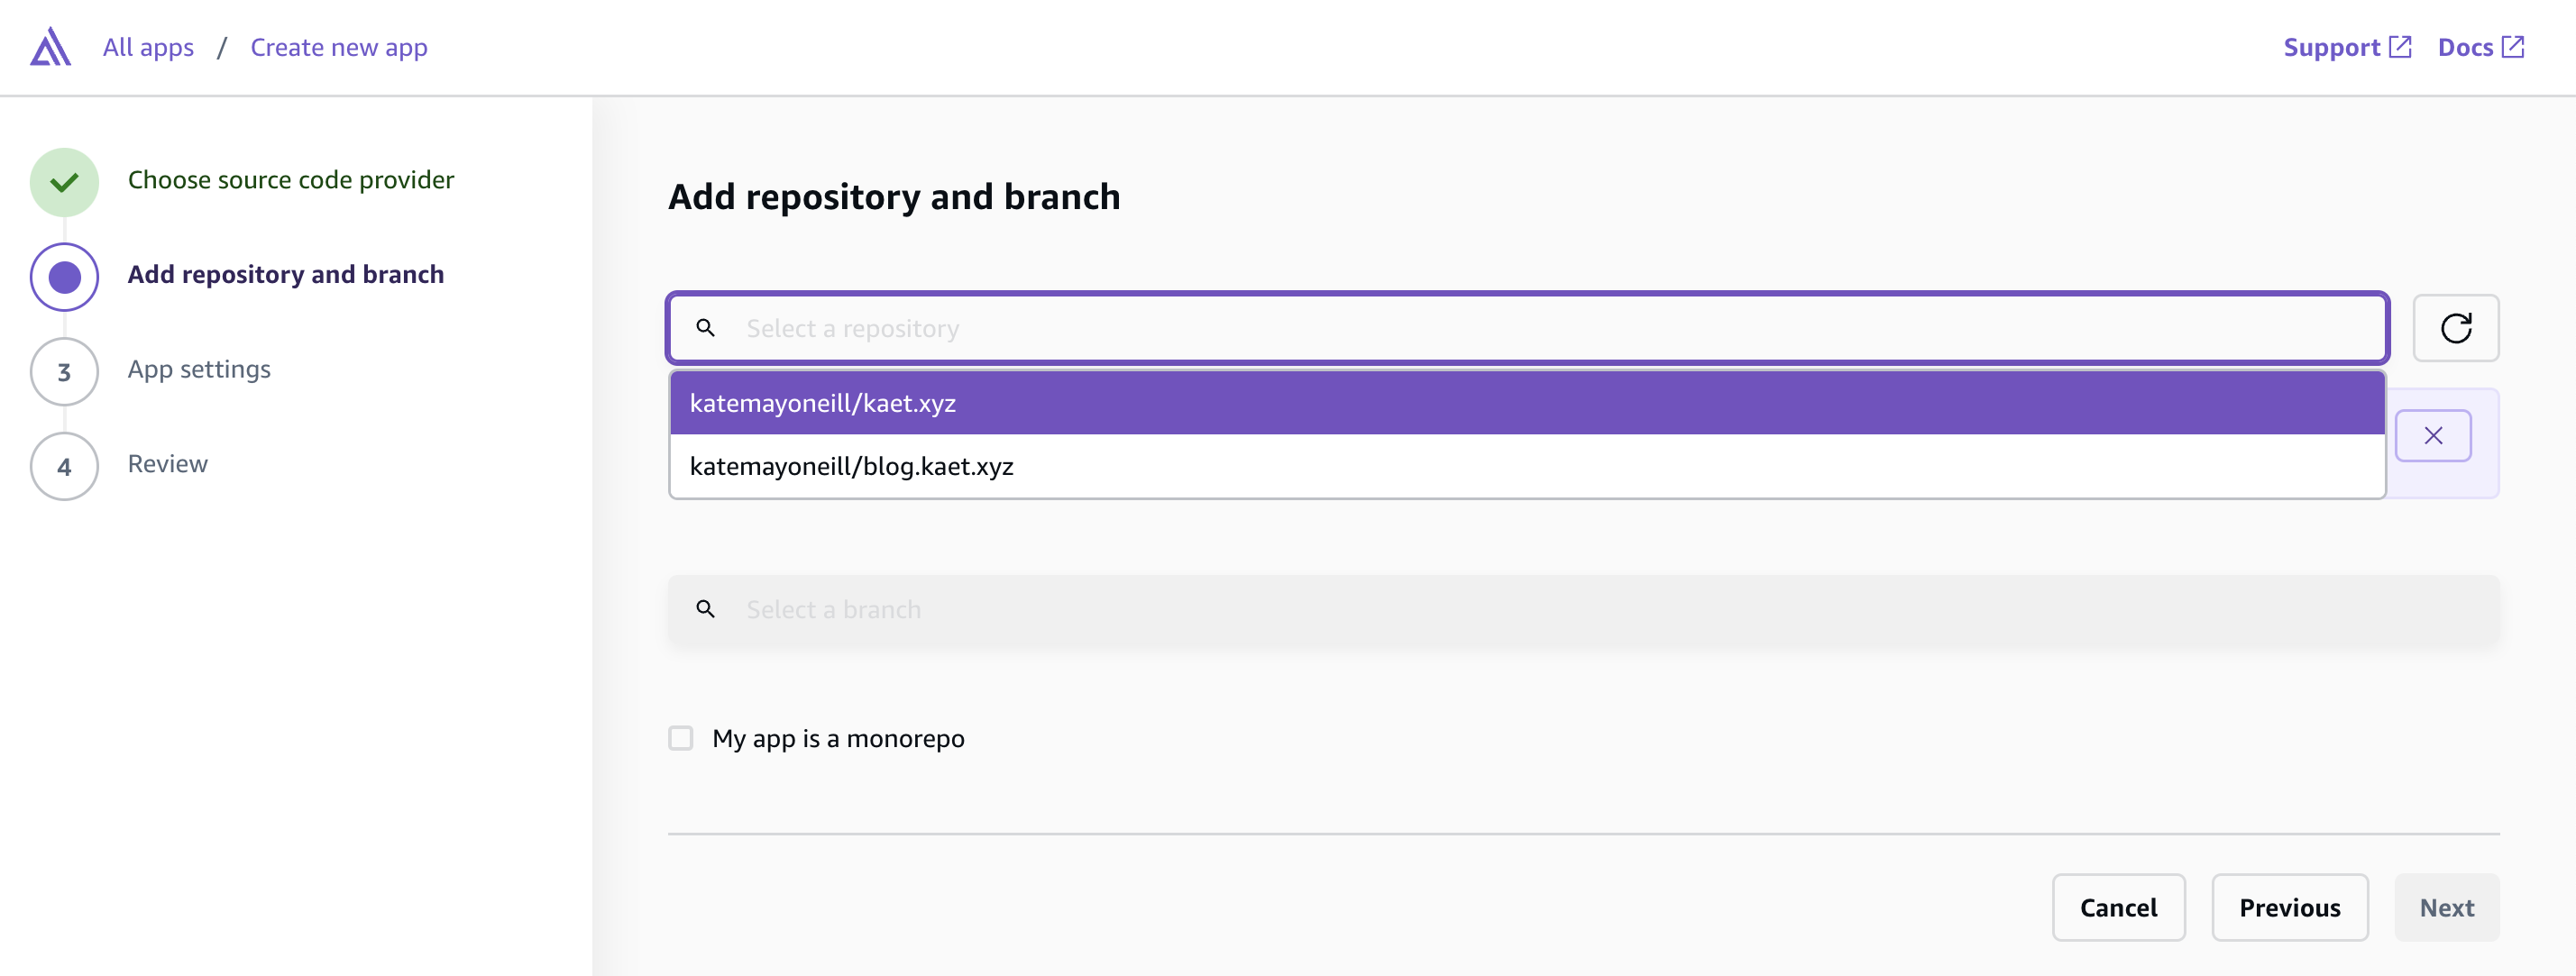
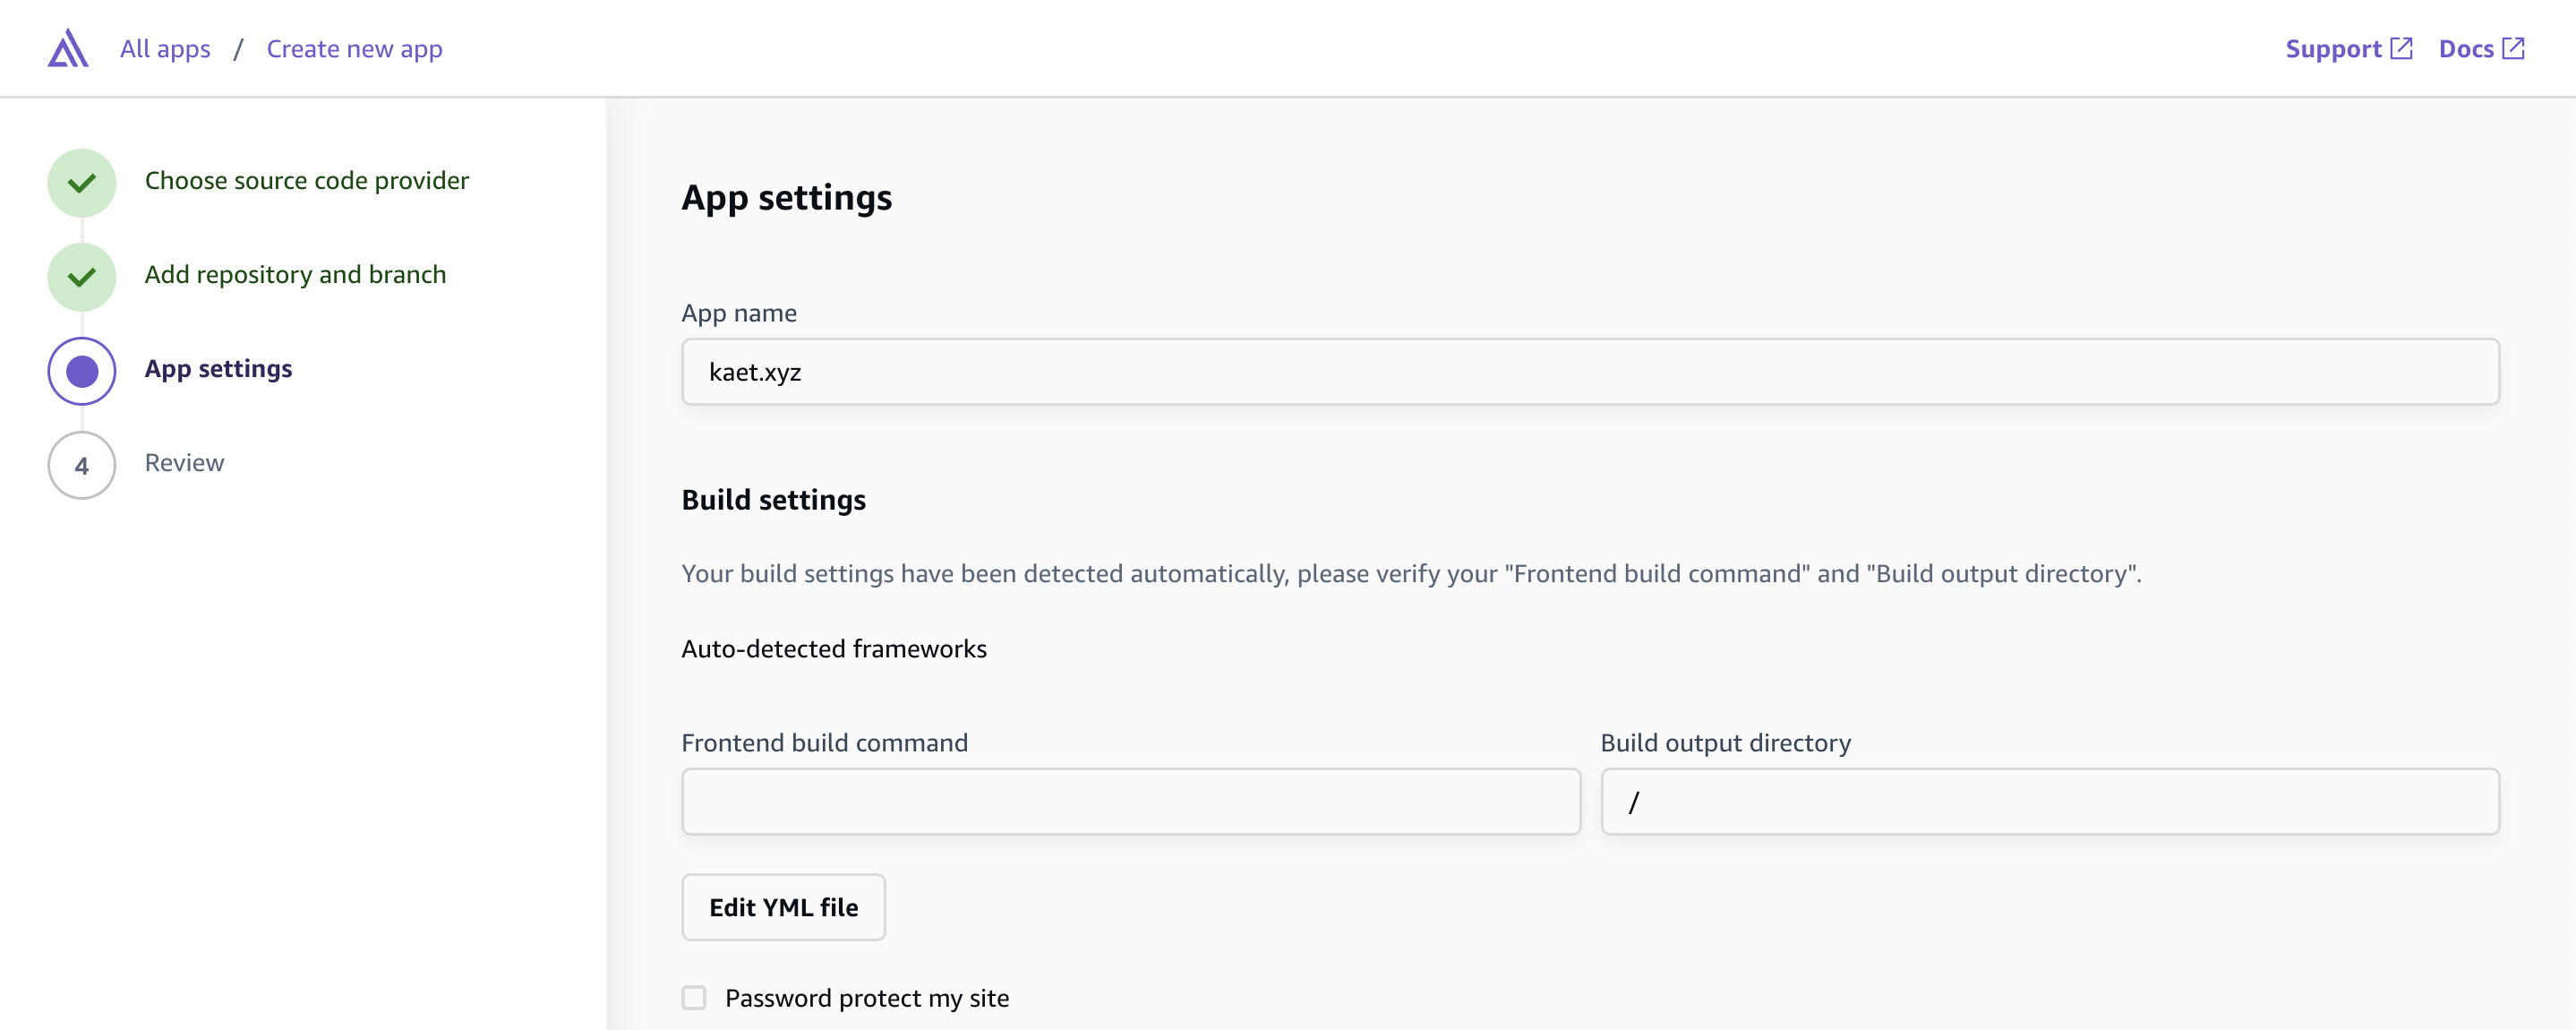 You may have to fiddle around with the settings in GitHub if the repository you want to deploy doesn’t come up.
You also have to use the searchbar at this step, the repository won’t appear if you don’t search for it.
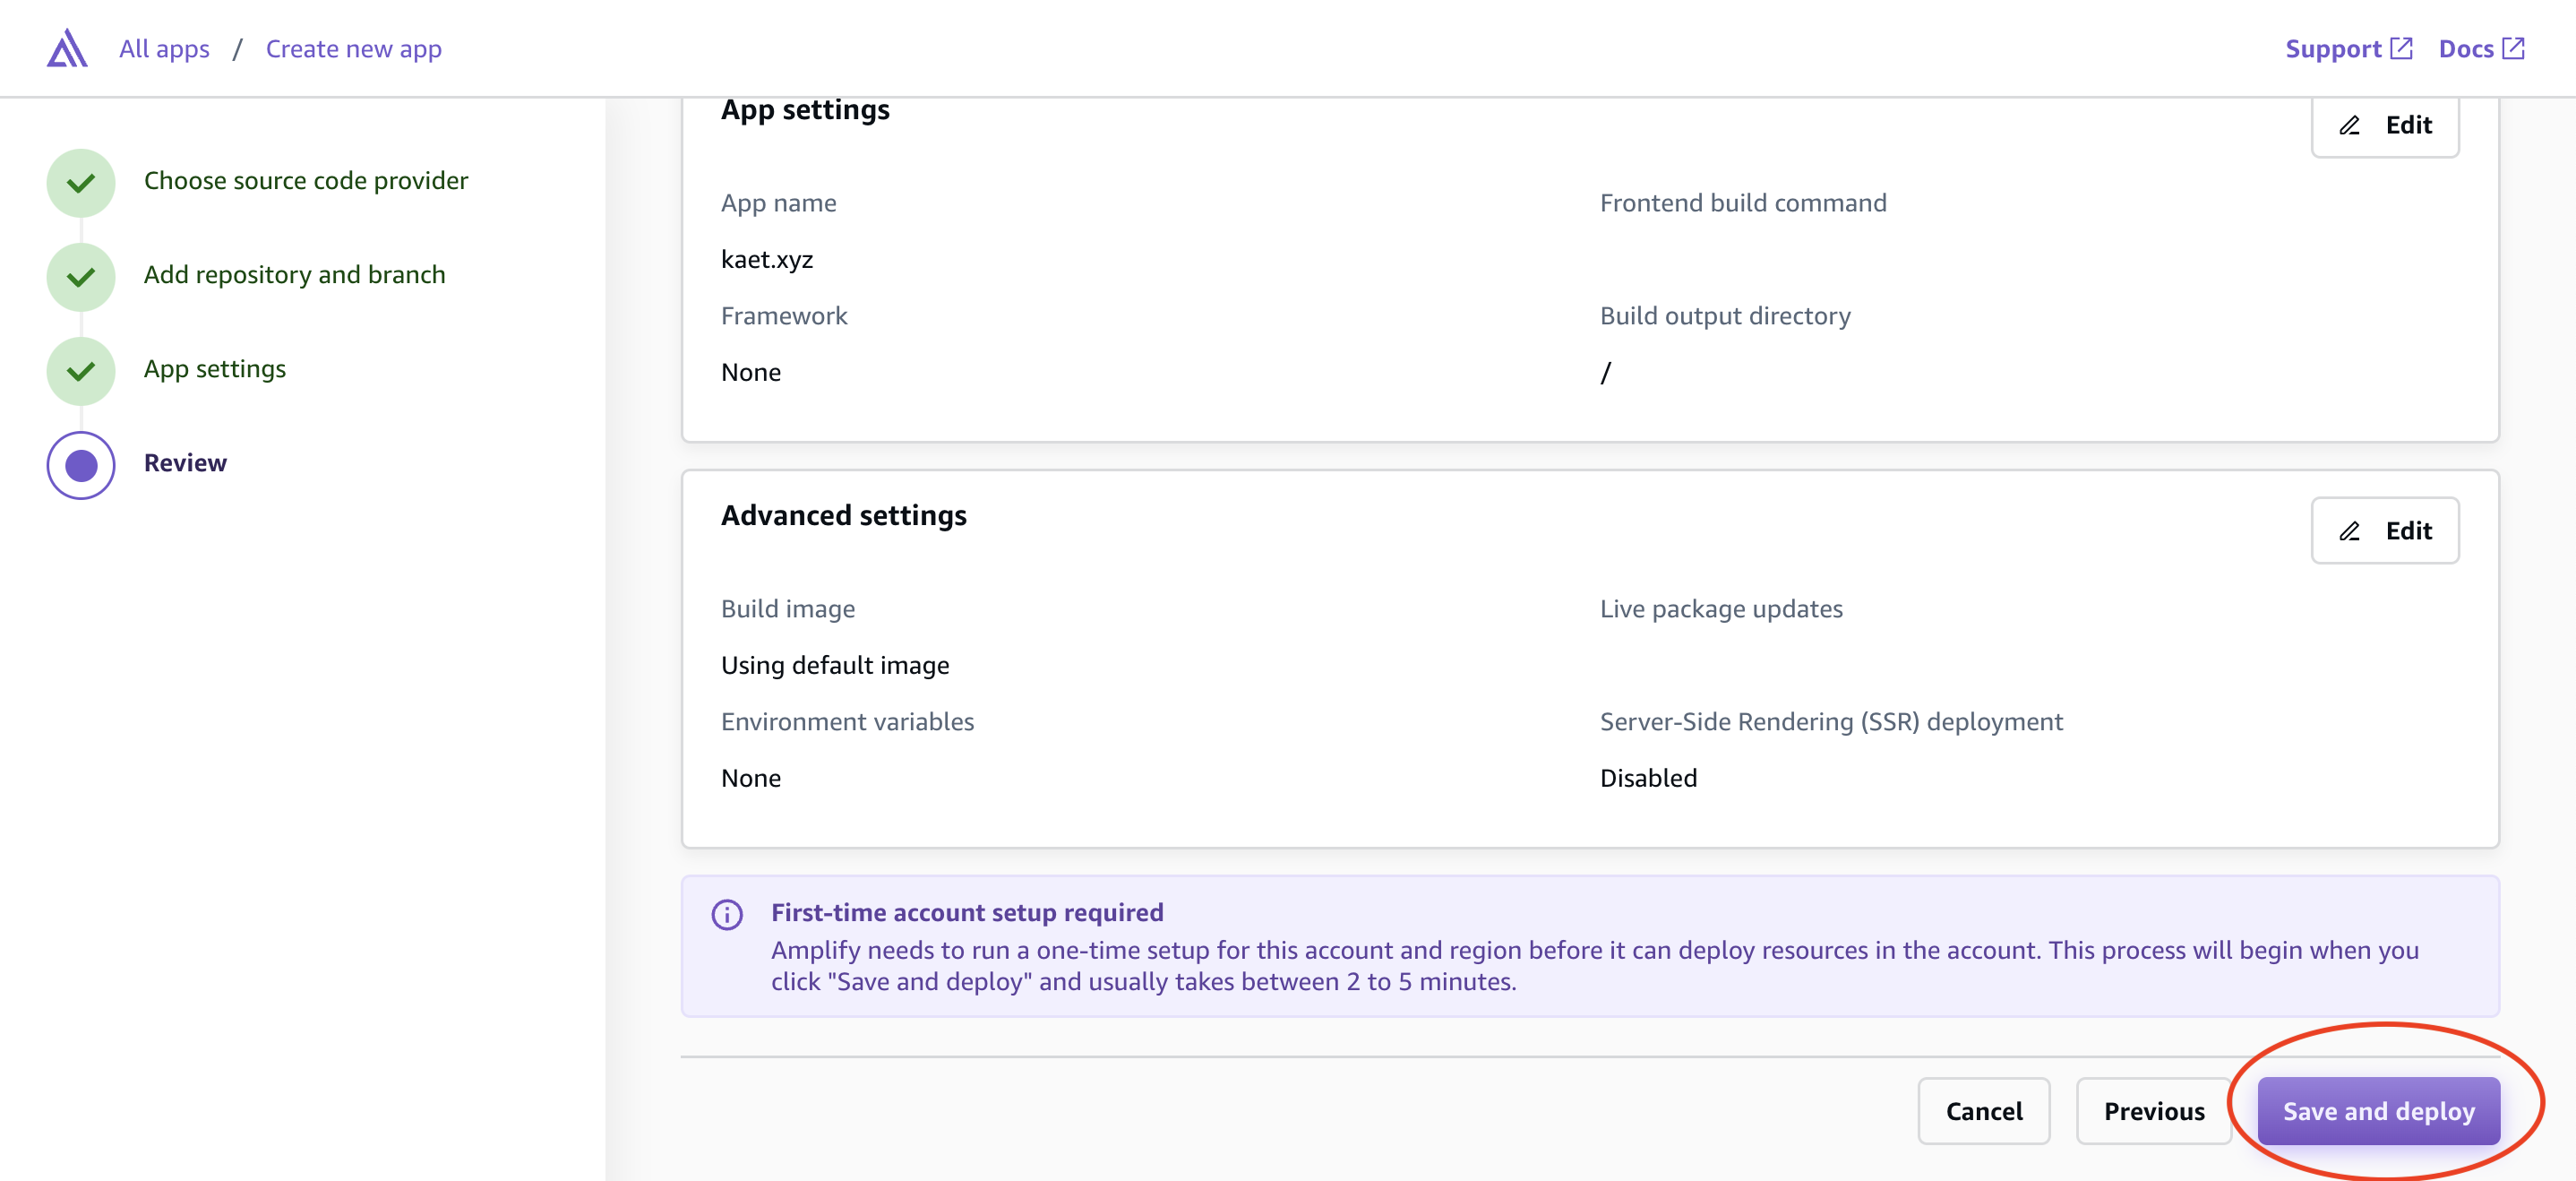 Now your website should be up and running. AWS Amplify will give you some random url to begin with but we will fix that in the next step.
Step 4: Buy a domain name
Go to namecheap and buy a domain. Make sure to spend a little while looking at all of your options because the popular extensions such as .com and .io can get very pricey, but you can get very cheap domains aswell.
Step 5: Add domain to AWS Amplify
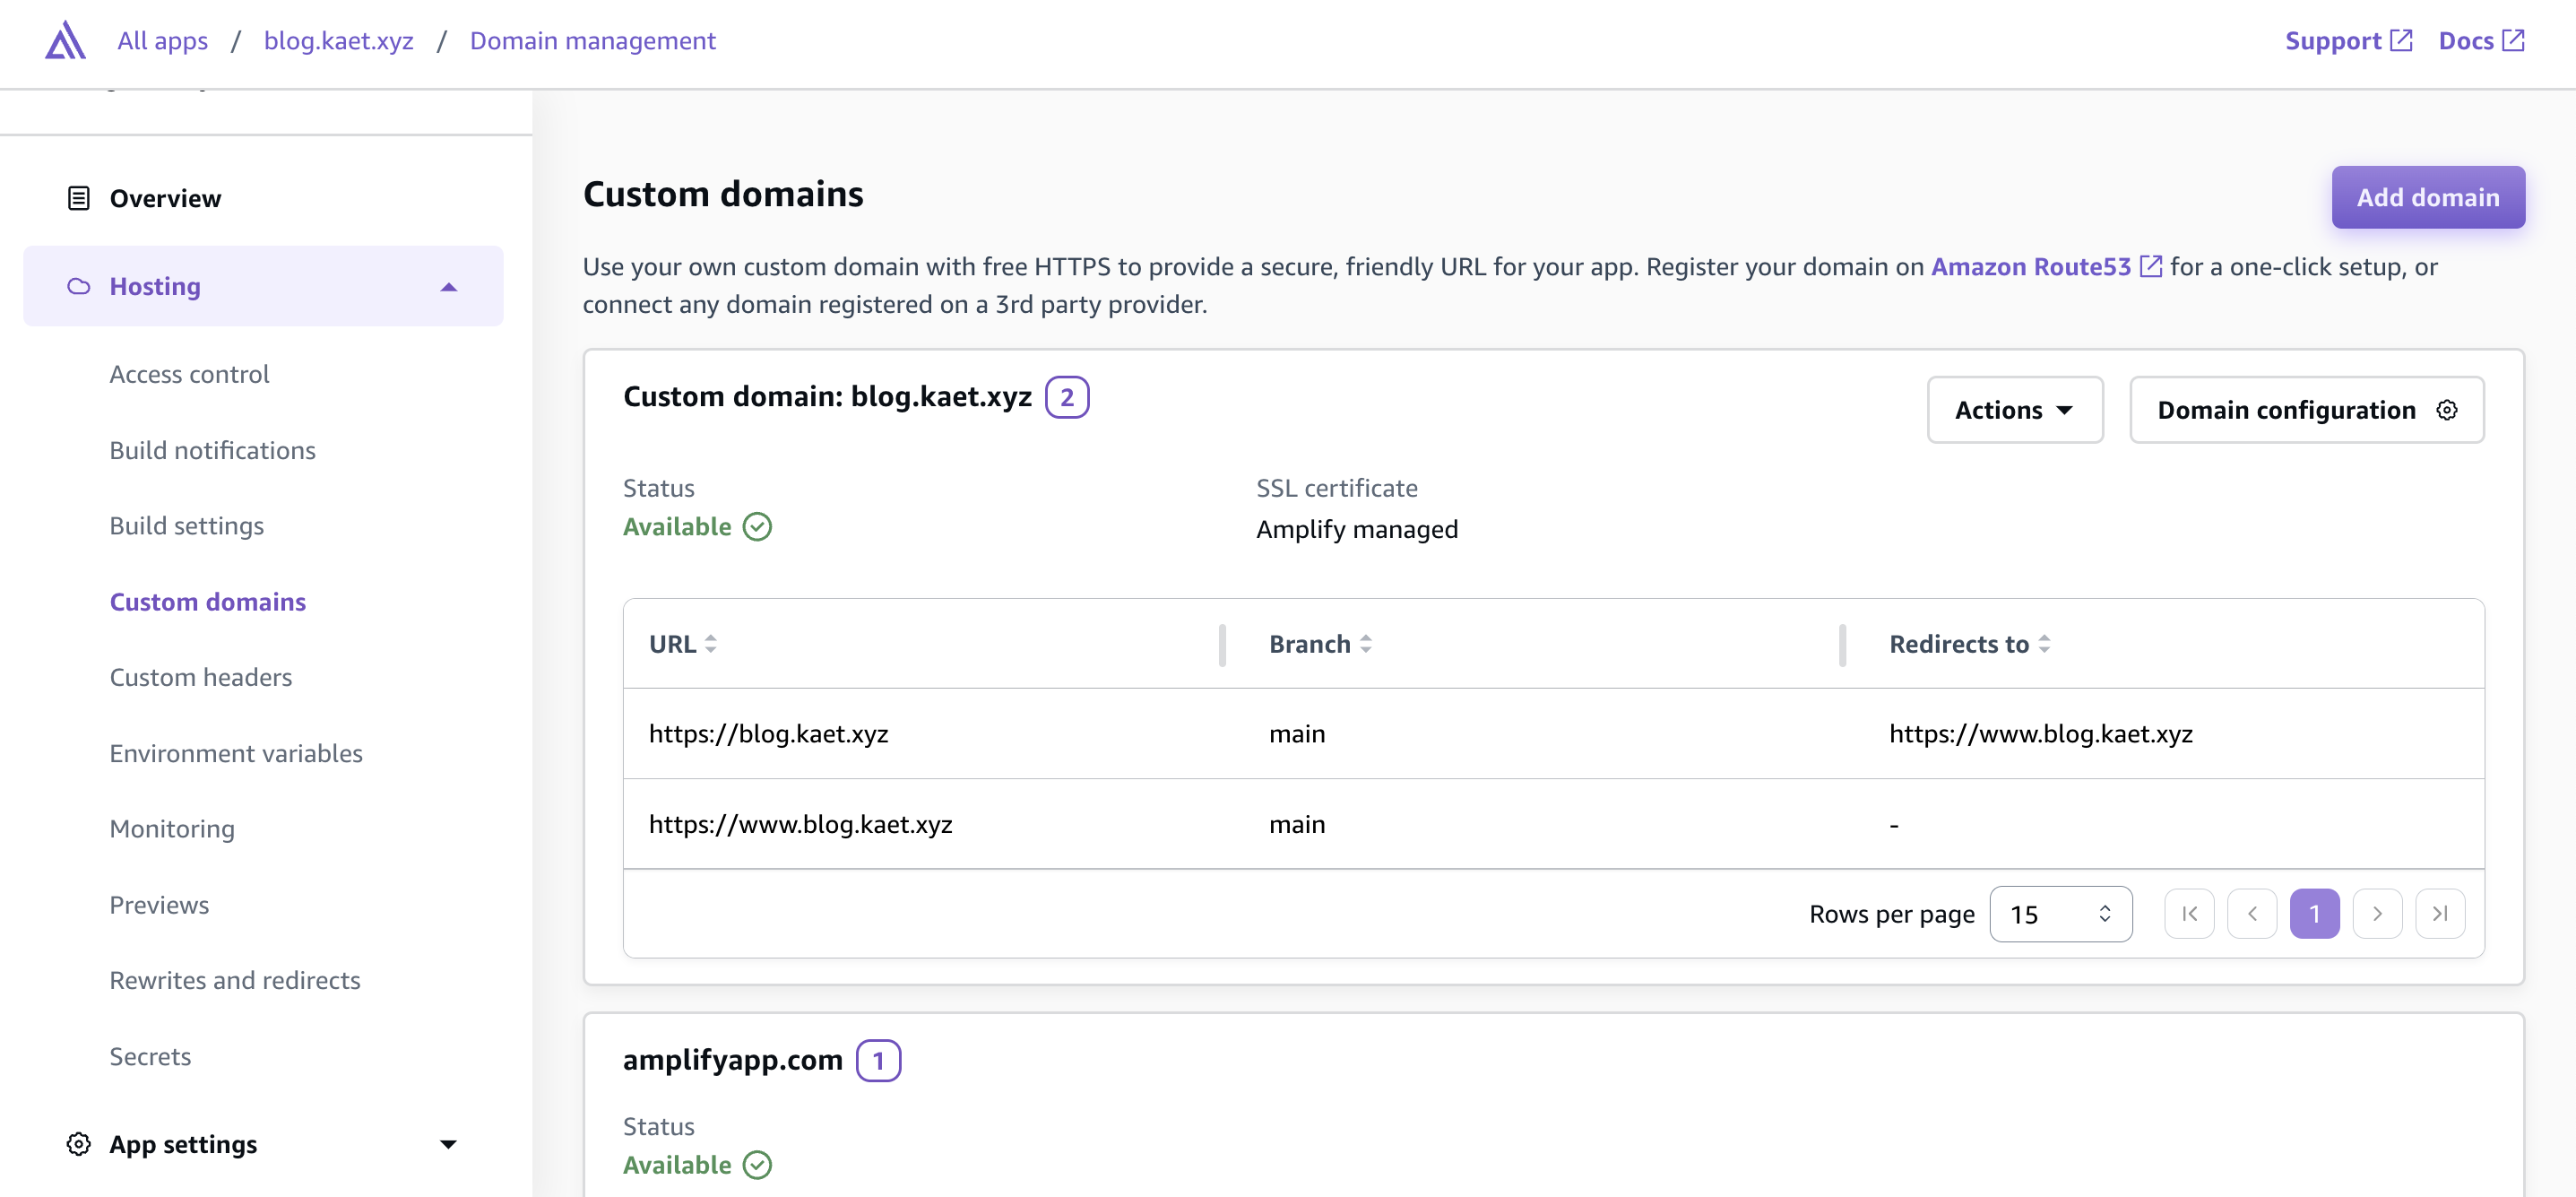 Go to this page in the AWS Amplify console. Once you enter your new domain, you will be provded with some stuff to copy and paste.
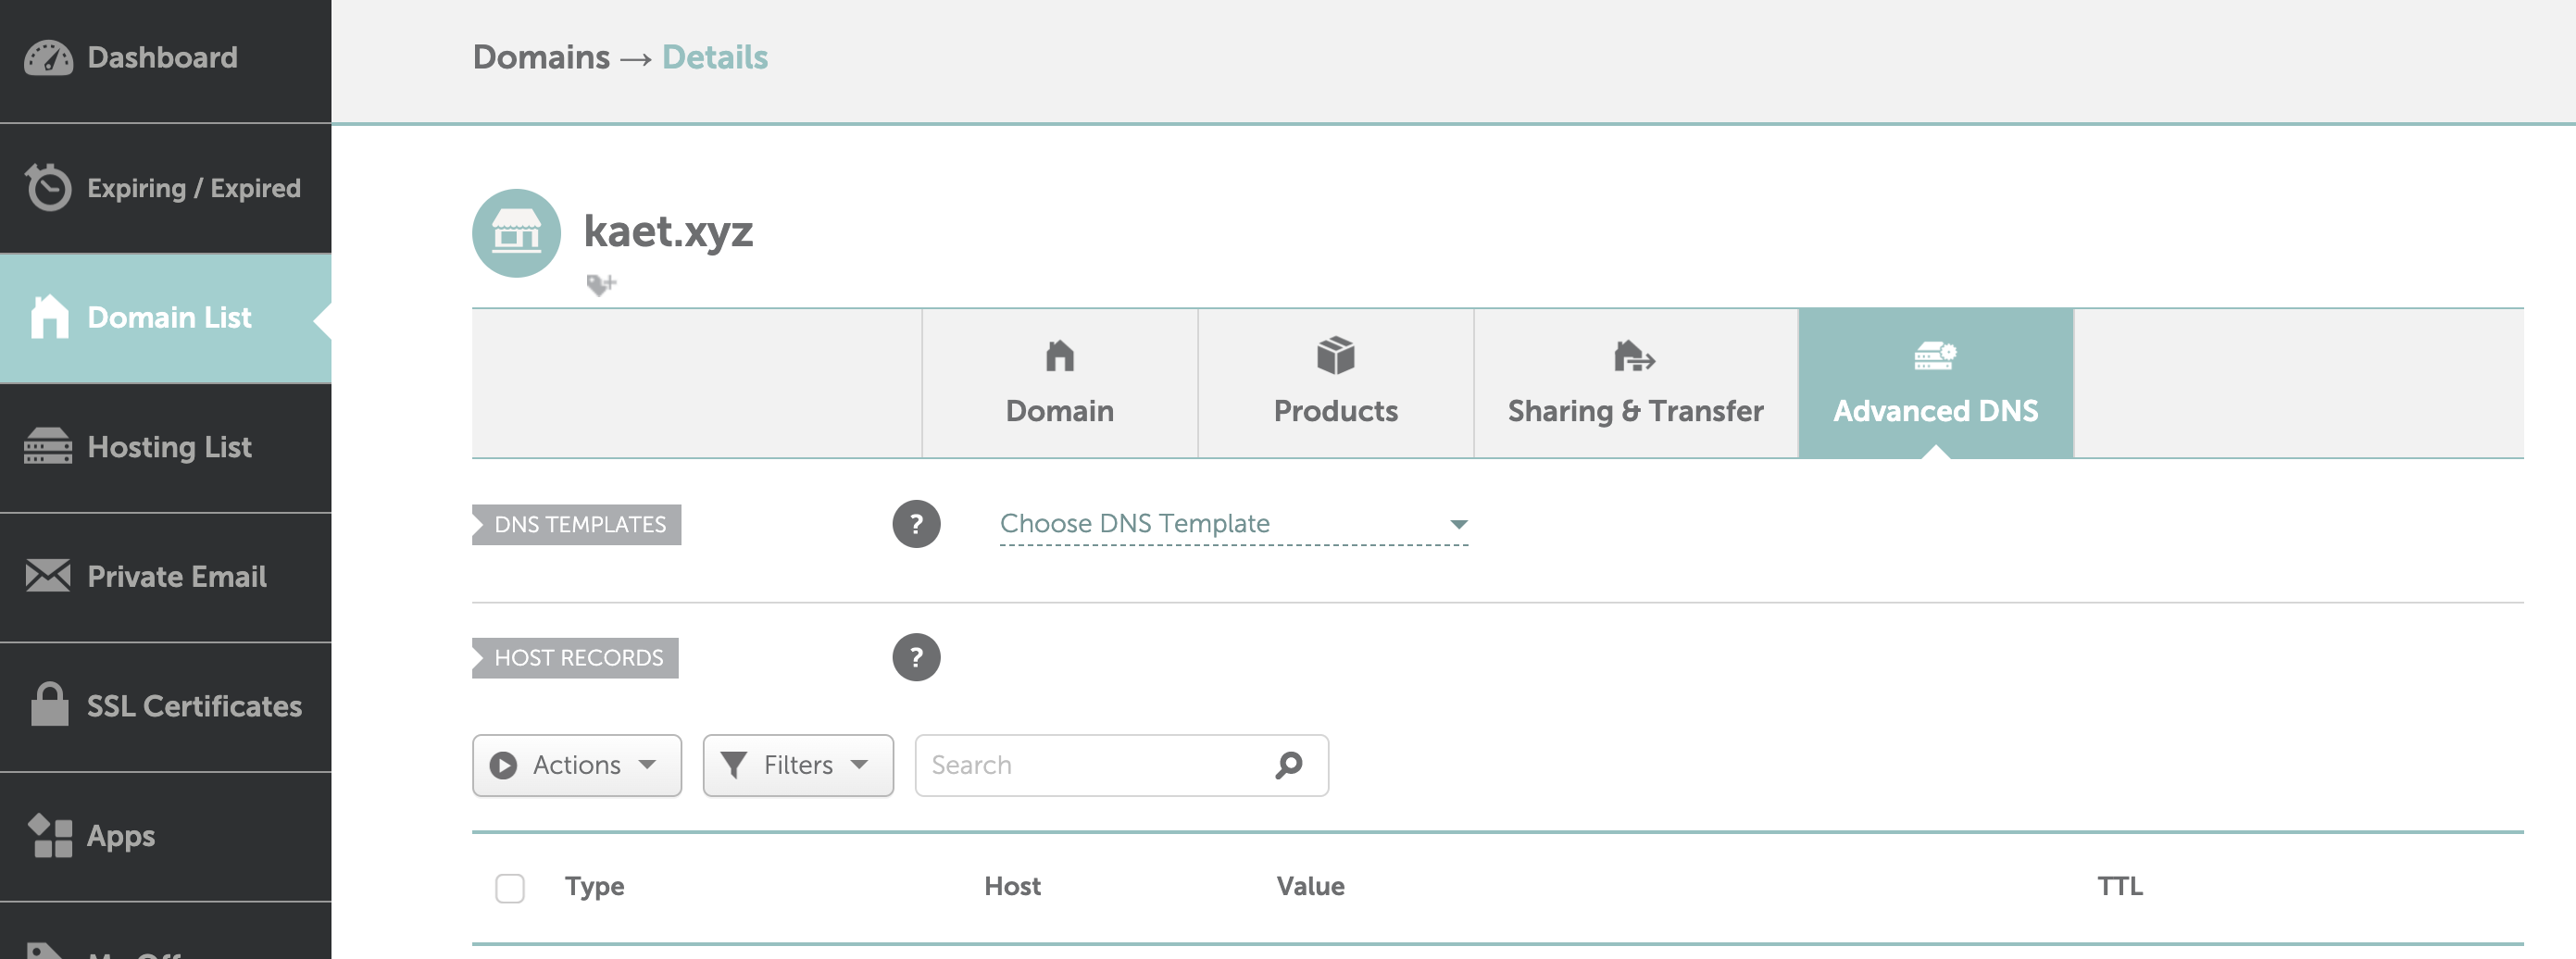 This is where you need to paste everything.